
Introduction to Mark and Line
This week we’ll be discussing the concept of “mark and line.” These are both fairly simple concepts. Making marks and scoring or drawing lines on surfaces is as old as humanity itself. Being able to talk about mark-making and line in an art object is an important part of developing your artistic vocabulary. Please make sure you go through the sections listed below regarding mark-making and lines in art.
- Familiarize yourself with the concepts of mark and line.
- Show that you can identify works where the primary emphasis is on either mark or line (or both).
- Create your own work that demonstrates heavy use of either mark or line or both and show that you know how to create your own “mark makers” (brushes) in Photoshop.
Resource Websites
Tate Museum: Mark-Making
The Tate Collection
Lines and Marks
The site sometimes takes a while to load.
Basic Concepts
You’ll need to watch the following videos to understand some of the basic concepts behind framing an image and choosing texture.
The Secret of Drawing: The Line of Inquiry
“Andrew Graham-Dixon takes a look at the many ways in which drawing has connected us with the natural world and also how it has helped advance scientific enquiry, from the Italian Renaissance right through to today.”
Scratching, Hatching, and Stippling
There are some basic mark making techniques that artists use to create forms, imply volume, and reveal dimension. In this video, a digital illustrator shows how.
Experimental Mark Making
This is a long, but fascinating look at some of the experimental mark-making techniques of Australian artist, Tomasz Talaj. There are some unusual methods used towards the end. You can fast forward through this video if needed.*Please note that there is some Not Safe For Work (NSFW) content in this video that includes some nudity. If you have young children nearby, you may want to watch the video later. Some artists use unconventional body parts to make their mark. It’s worth considering whether artists are provoking serious thought or whether they are merely looking for media exposure (no pun intended).
Crosshatching: Masters Edition
Watch Dan Nelson draw and see how crosshatching can create beautiful work.
Technical Know How
You’ll need to watch the following videos to understand how to use Photoshop to complete your assignments this week.
How to Create Your Own Brushes in Photoshop
This week, you’ll need to know how to create your own brushes in Photoshop. This is a key skill to have in 2D digital design. If you’re seriously considering a life in art, creating your own brushes is a critical skill.
Create Comic Inking Brushes in Photoshop
Moving a bit beyond the basics here, illustrator Robert Mazullo shows how to create brushes that look more like comic style brushes.
Create a Stippling Brush in Photoshop
Stippling is another technique used in mark-making. See how to create a stipple brush in this video.
The Pen Tool in Illustrator
The pen tool in Illustrator can be one of the more difficult concepts in Illustrator. This tutorial is pretty good about helping you understand how to use it. If you’re looking to become an illustrator as a profession, you need to master the pen tool. Practice. Practice. Practice. To learn even more, use the search phrase “pen tool in Illustrator” in YouTube and watch every video you can.
Assignments
Identify
⊕ For this week, create a Pinterest Board called “Mark and Line” and add 20 images to that board using the guidelines above. Submit your link in the form below.
Time Lapse Video of a Tracing Exercise
Emphasis on mark-making. I used a number of different brushes (“pencils”) in this drawing to get a varied effect across the entire piece. Consider asking yourself: do I want to make art that has consistent lines throughout (those tend to be vector artists and work well in the graphic design space) or do I want to vary my brushes throughout my work?
Emulate and Create
*You’ll submit 5 images this week. One (.psd) and 4 (.png) files.
EMULATE
For the emulate exercise, go through the exercise similar to the one on the left (video). Whereas I used a photo of a friend, you should use a photo of an artwork done by someone else;
- Choose an image from anywhere (try using the Tate Gallery linked above) and in Photoshop, reduce the transparency of the original image, add a new layer that will function as your “drawing layer,” then using any existing brush, use a series of marks and lines to trace the original image. When I say “trace” I mean not just the outlines, but the shadows, contours, and volumetric forms in the image. Use crosshatching, scribbling, stippling, and any other mark making element you like.
- Save the image as a .psd (a Photoshop document) with two layers (the original image and your drawing layer on top) and submit that image.
Below is an example that I created. I’m using a photograph of a friend instead of another artwork, but you will get the idea:
*Alternate assignment for those without Photoshop: determine how to trace an image in whatever tool you’re using. Submit the original and the traced images separately and explain to me how you created the tracing.
CREATE
For your create exercise you’ll need to create at least 3 of your own brushes and one “sketchbook page” with a series of mark-making exercises using your 3 self-made brushes. Remember, you should watch all of the videos in the “Technical Knowhow” section to understand how to do this.
1. Create 3 Photoshop documents each 500px x 500px and create 3 separate brushes, add them to your brush library and save each of the files as a .png as well.
2. Create one document that is 1600px x 2200px and using your 3 new brushes, create 5 rows of mark-making exercises. It should look something like this:
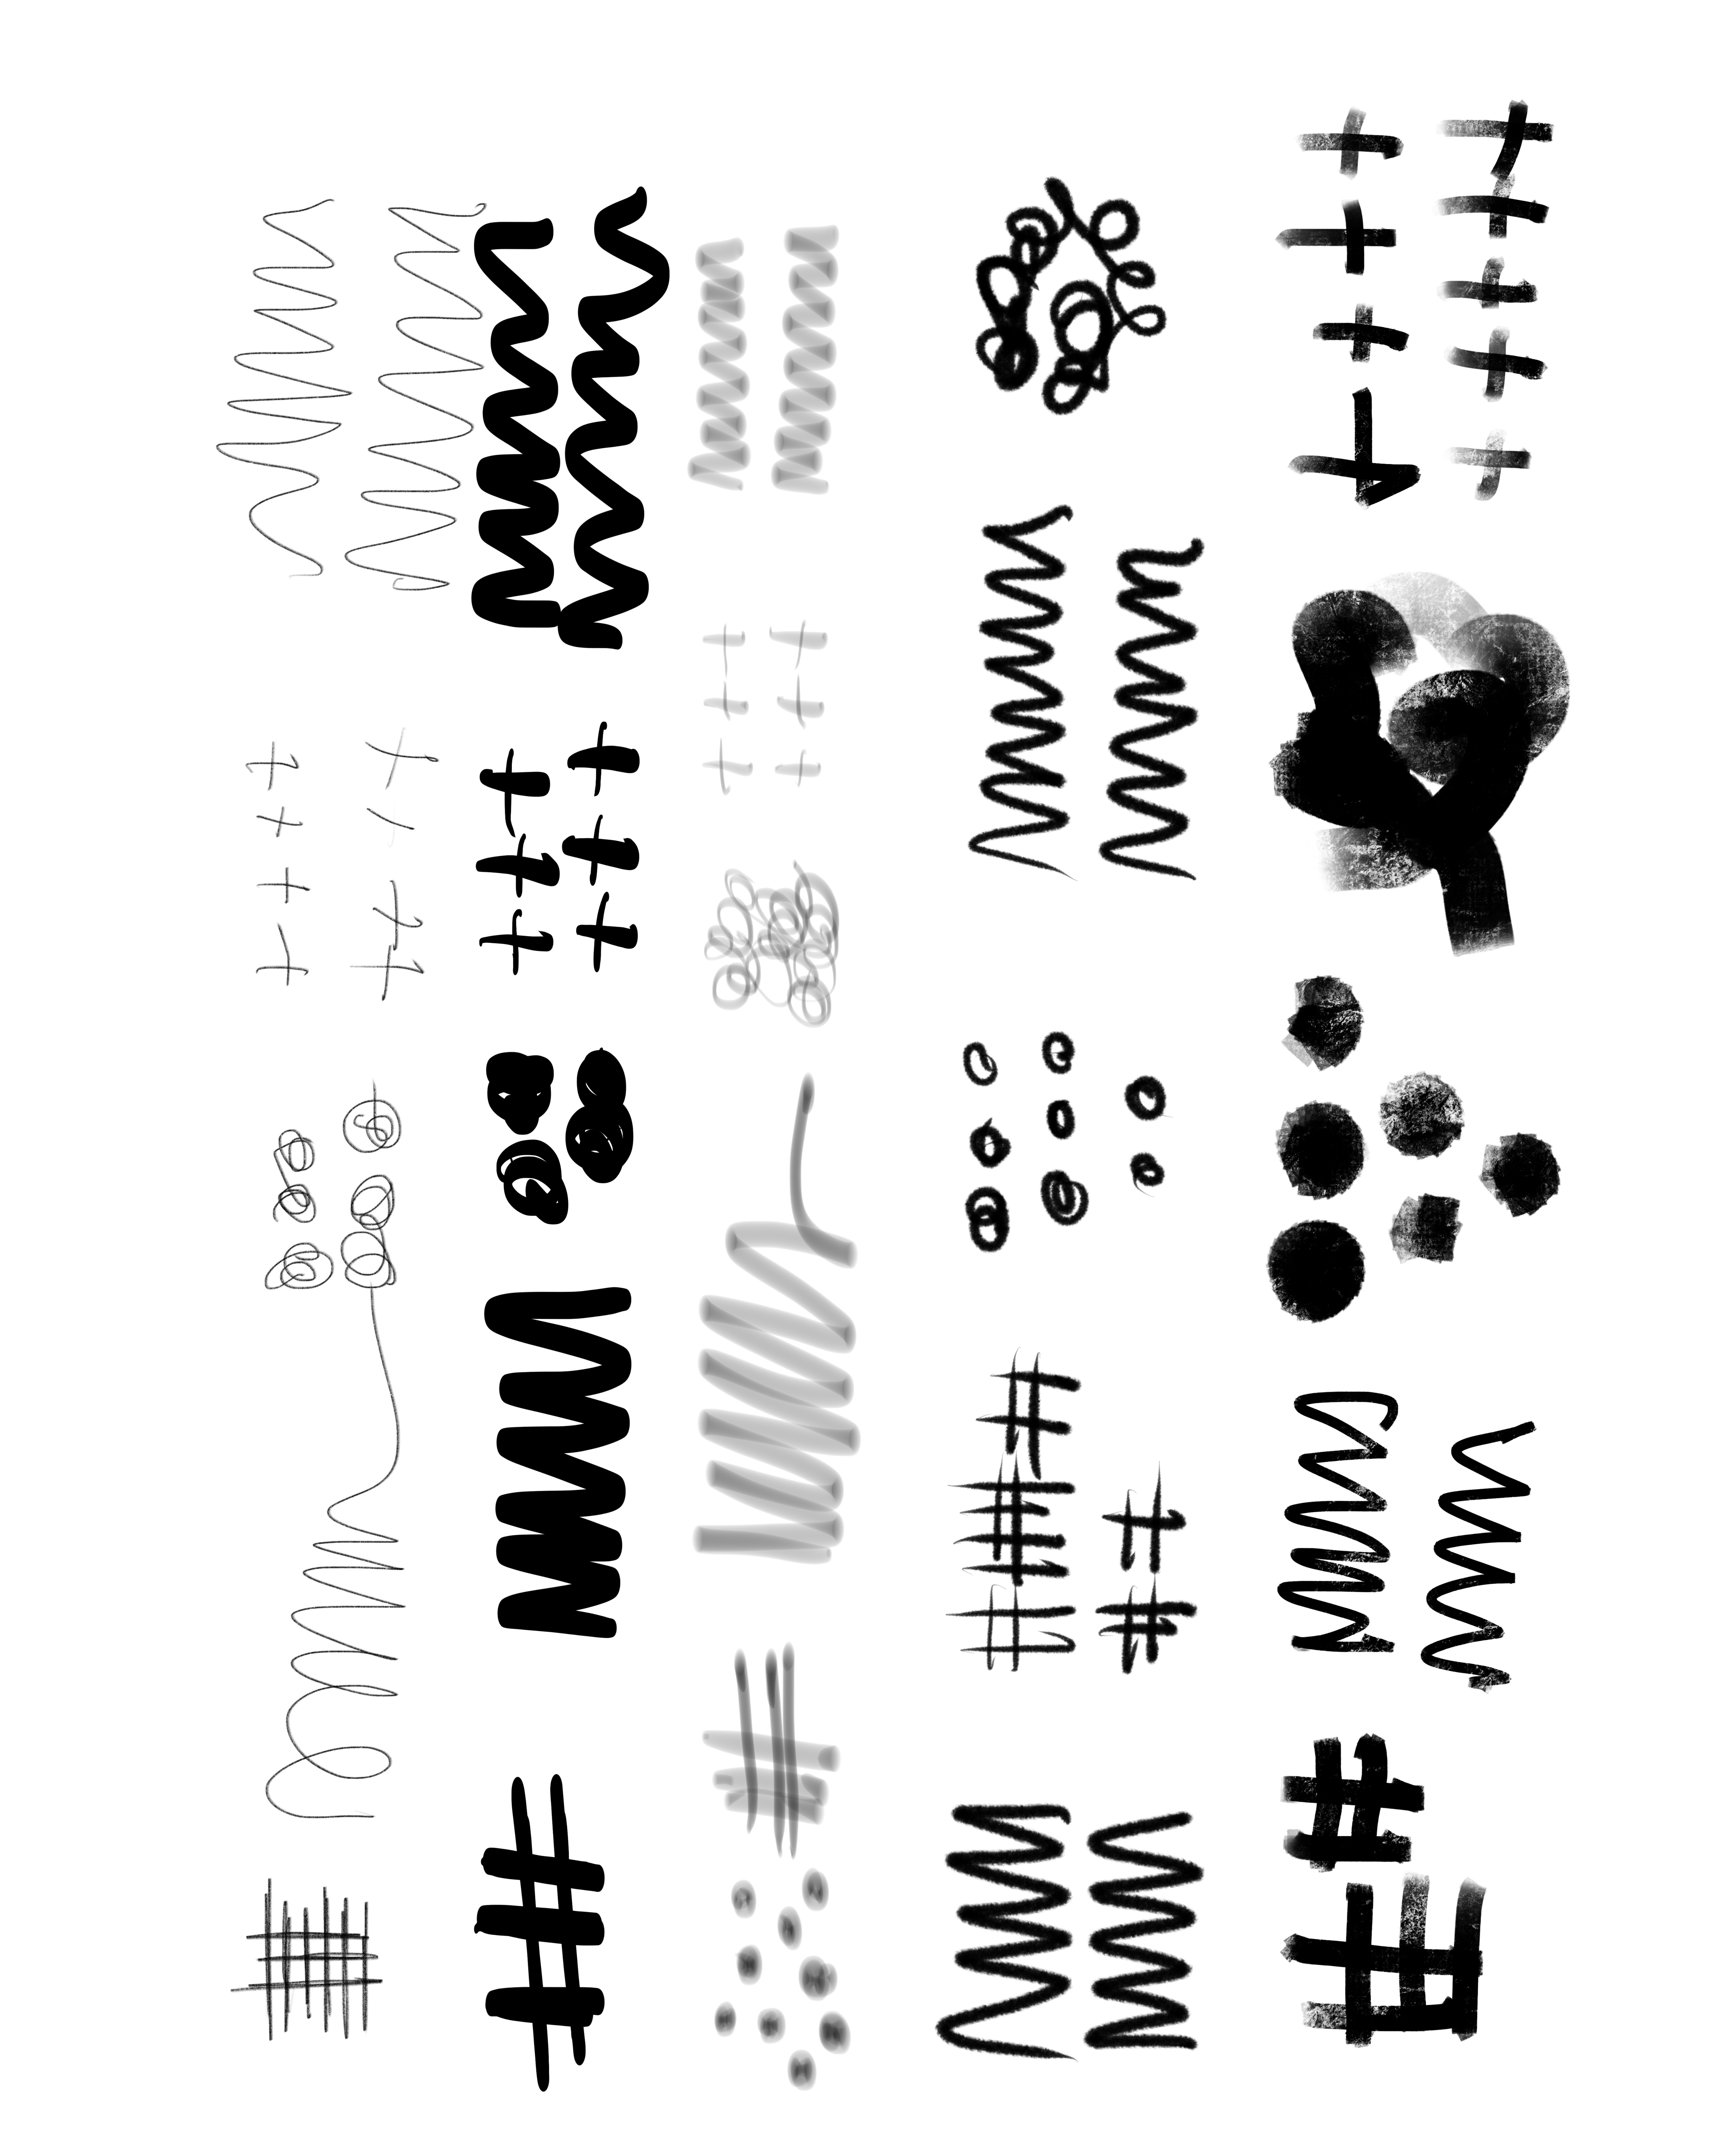 3. Save that document as a .png. Submit all 4 .png files as your “Create” assignment.
*Alternate assignment for those without Photoshop: Most design apps have some kind of “custom brush” ability or at the very least a way to modify the brushes you’re using. Submit either a verbal description of how you customized your brushes and an example image OR if you know how to create a screencast, do that and show me the process you’re using.